How to season a cast iron skillet the right way at home
When I got my first apartment, my kitchen skills were non-existent. I had one cheap skillet, a single pot, and a dollar-store spatula. I regularly ruined basic tasks like making rice or heating canned soup without burning it. So when someone told me I needed a cast iron skillet, I avoided it for a year. The internet made it sound like maintaining one was a part-time job or a sacred ritual requiring specific oils harvested under a full moon.
It isn’t.
After looking at the data, tracking down actual failure modes, and using a standard 10-inch cast iron skillet almost every single day in my regular apartment kitchen, I learned the truth. Cast iron is worth using, but people make it sound much harder than it actually is.
If you have a pan that feels sticky, looks dull, or has a bit of surface rust, you do not need to throw it out. You just need to know how to season a cast iron skillet the right way without the myths. Let’s break down the actual process, look at the math behind the oil choices, and fix your pan using standard home equipment.
What Actually Is “Seasoning”? (Hint: It’s Not Salt)
When people talk about seasoning a skillet, they aren’t talking about adding pepper or garlic. They are talking about a chemical process called polymerization.
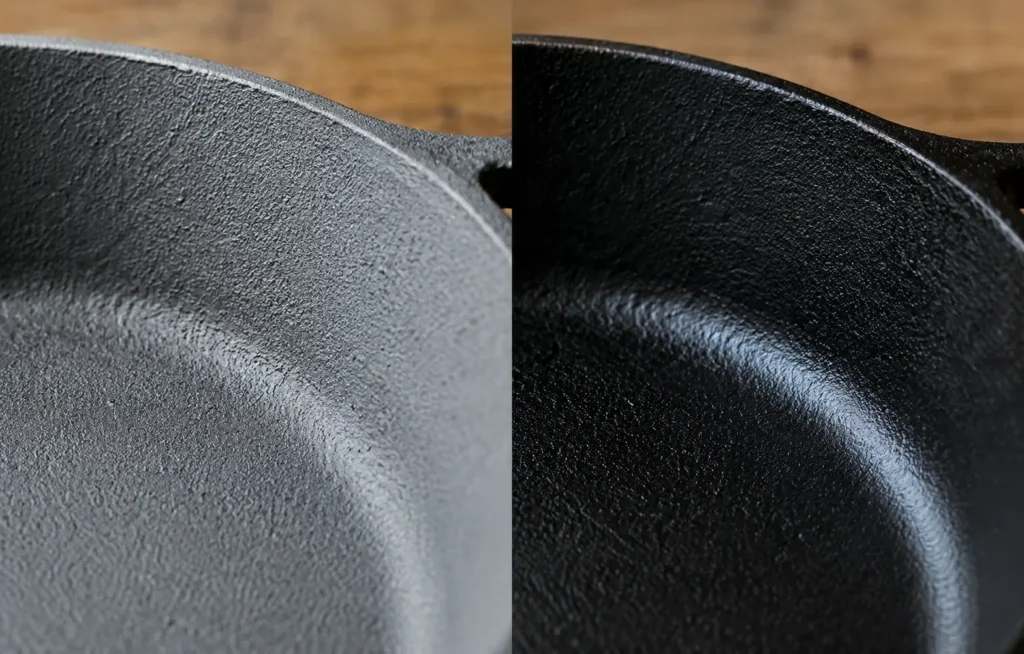
Bare cast iron is naturally porous. If you looked at it under a microscope, the surface would look like a mountain range full of tiny nooks, crannies, and sharp peaks. If you drop an egg onto bare iron, the liquid egg slips into those microscopic pores, cooks, expands, and locks itself in place. That is why food sticks.
Seasoning is the process of filling those microscopic pores with fat and heating it past its smoke point. When liquid fat gets hot enough in the presence of iron and oxygen, the molecules break apart and cross-link with each other. They transform from a liquid oil into a slick, hard, plastic-like solid that physically bonds to the metal.
Every time you season your pan, you are adding an incredibly thin, micro-layer of this natural plastic. Over months of regular cooking, these layers stack up on top of each other until the surface becomes dark, shiny, and smooth.
Step-by-Step: How to Season a Cast Iron Skillet the Right Way at Home
You do not need specialized tools for this. Grab some paper towels, your oven, and a bottle of regular cooking oil.
Step 1: Clean and Scrub the Pan
This is the only time I will tell you to use heavy soap and an abrasive scrubber on your pan. If you are starting fresh with a brand-new, rough-textured pan, or if you are fixing an old pan with crusty, uneven spots, scrub it thoroughly. Use warm water, standard dish soap, and a stiff brush like the Lodge Scrub Brush.
Derek’s Note: If your pan has significant surface rust, use a bit of steel wool to take it down to the grey metal. Don’t panic if it looks scratched; we are about to rebuild the surface from scratch anyway.
Step 2: Dry It Completely (No Exceptions)
Water is the absolute enemy of cast iron. If you leave even a microscopic film of moisture on the iron and trap it under oil, your pan will rust from the inside out, causing the seasoning to flake off in big chunks later.
Wipe the pan down with a lint-free towel. Then, put the skillet on your stove over low heat for two to three minutes. Let the heat evaporate every single molecule of water until the pan is completely dry and slightly warm to the touch.
Step 3: Apply an Incredibly Thin Layer of Oil
Pour a tiny amount of oil—about half a teaspoon—into the middle of the warm pan. Using a paper towel, buff the oil all over the inside, the outside, the sides, and the handle. The entire pan should look shiny.
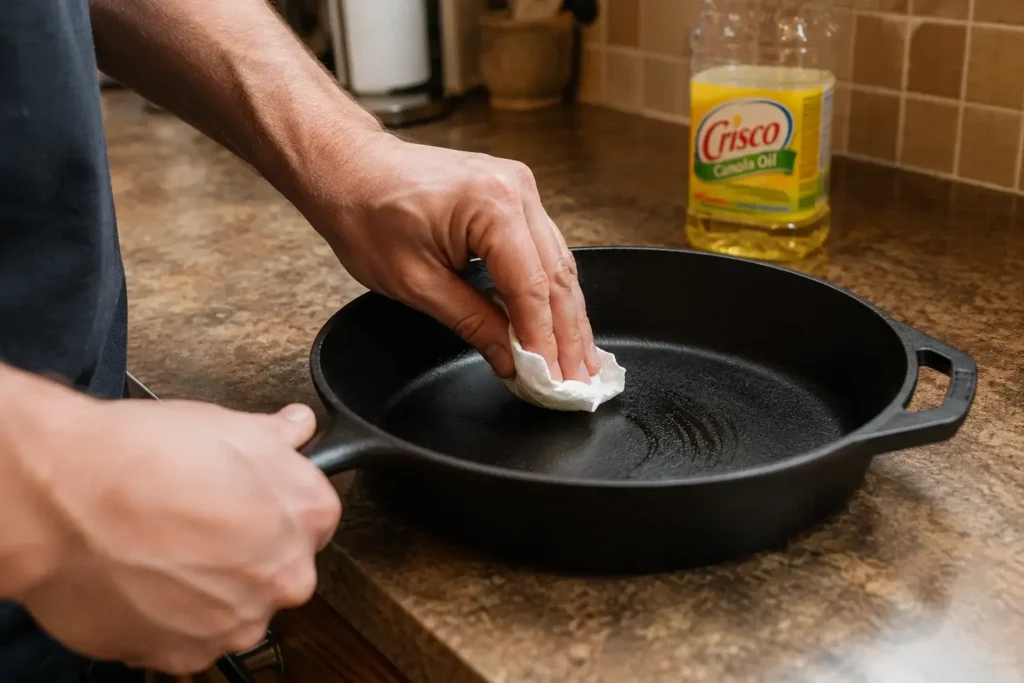
Now, take a fresh, completely dry paper towel and try to wipe all the oil off.
This is where most beginners mess up. They leave a visible layer of liquid oil in the pan thinking “more is better.” If you do that, the oil will pool, gum up in the oven, and turn into a sticky, brown mess that you’ll have to scrub off later. Wipe the pan until it looks completely matte and dry, as if you accidentally wiped all the oil away. I promise you, a microscopic layer is still stuck to the iron, and that is all we want.
Step 4: Bake It Hot and Upside Down
Preheat your oven to 450°F.
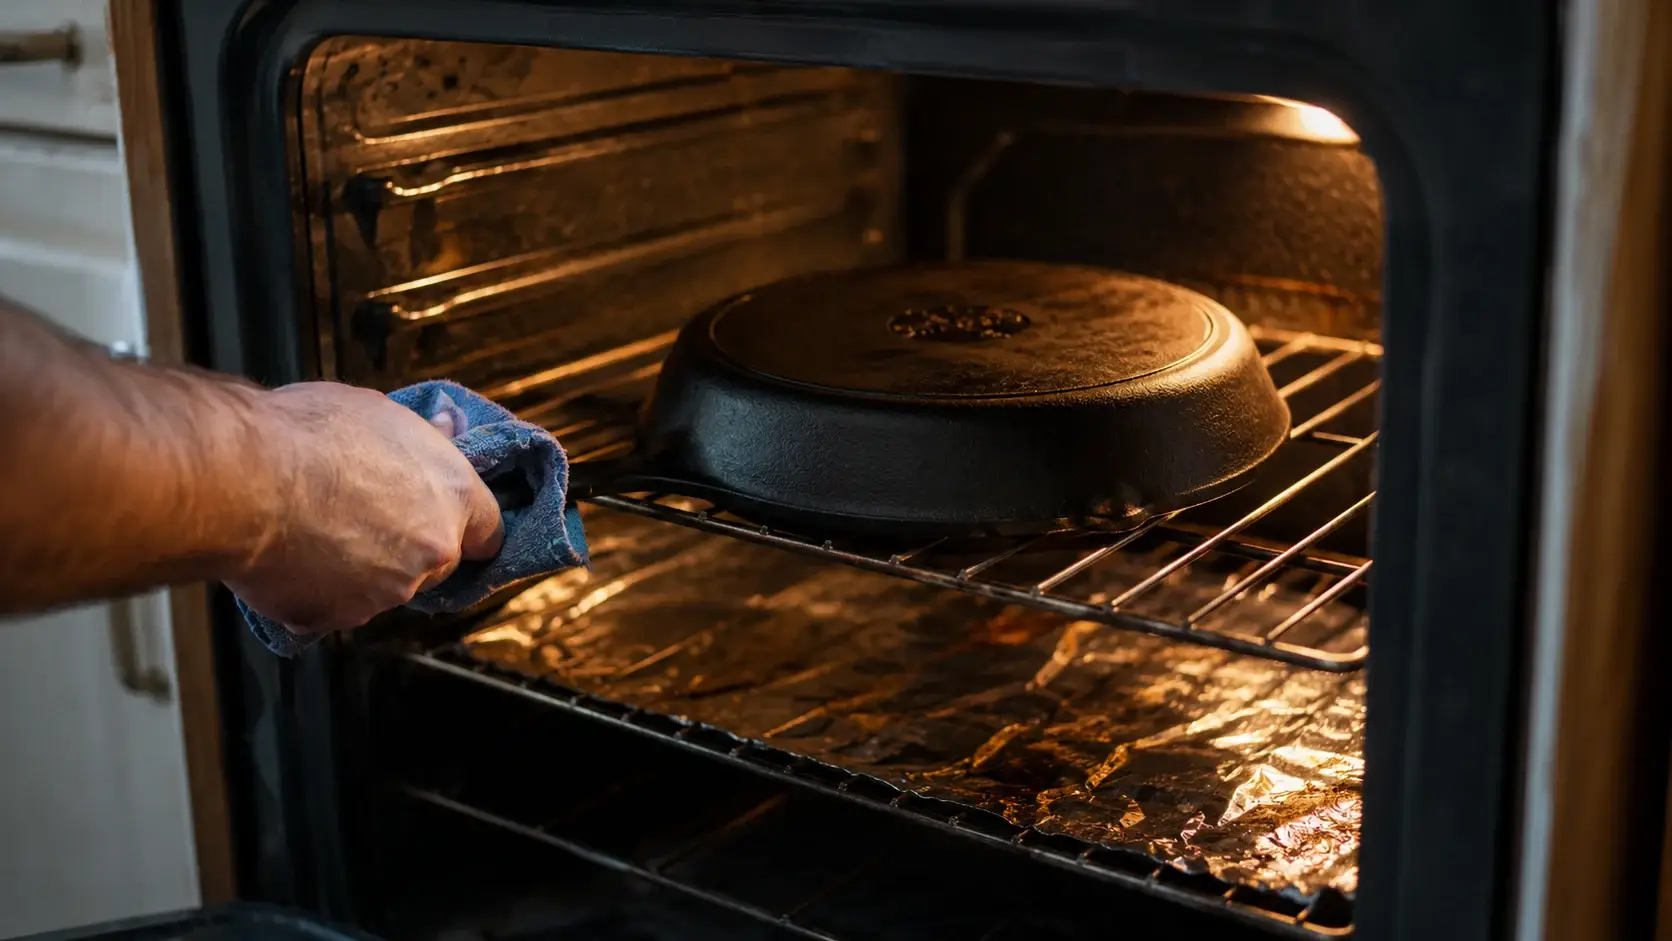
Place your skillet completely upside down on the top rack of the oven. Placing it upside down ensures that if you did accidentally leave too much oil on the pan, the excess will drip down rather than pooling in the cooking surface.
Accounting Brain Tip: Place a cheap sheet of aluminum foil on the bottom rack beneath the skillet to catch any stray drops. It saves you from scrubbing the bottom of your oven later.
Bake the skillet at 450°F for exactly one hour. Your kitchen might smell a bit like hot oil, which is normal—that is just the oil reaching its smoke point and beginning the polymerization process.
Step 5: Cool It Down Slowly
After an hour, turn the oven off. Do not open the oven door. Leave the skillet inside to cool down slowly for at least an hour or two. Letting the metal cool down gradually allows the newly formed polymer chains to stabilize and harden properly against the iron surface.
If you are working with a completely bare or stripped pan, repeat this process three times. If you are just doing routine maintenance on a pan you already use, one round is plenty.
The Spreadsheet Breakdown: Choosing the Best Oil
I don’t buy into marketing labels like “artisanal conditioning paste.” I look at the numbers. To get clean polymerization, you need an oil with a high smoke point that contains a high percentage of polyunsaturated fats (which break down and link together easily).
Here is how the common options actually stack up based on smoke point, usability, and cost:
| Oil Type | Smoke Point | Polymerization Quality | Derek’s Take |
| Crisco (Vegetable Shortening) | 490°F | Excellent | The gold standard. Cheap, highly stable, doesn’t go rancid easily, and creates a tough, durable coat. |
| Canola / Vegetable Oil | 400°F – 450°F | Very Good | Excellent budget option. You likely already have a bottle of this in your kitchen pantry right now. |
| Grapeseed Oil | 420°F | Excellent | Very reliable, forms a hard bond, but costs significantly more than regular canola oil. |
| Flaxseed Oil | 225°F | Fragile / Flaky | The internet’s favorite dandy oil. It’s expensive, and the resulting coat is brittle and prone to flaking off like old paint if overheated. Avoid it. |
| Lard / Animal Fat | 370°F | Good | Fine if you use the pan daily, but if stored for weeks, the unpolymerized animal fats can go rancid and smell terrible. |
| Extra Virgin Olive Oil | 325°F | Poor | Smoke point is far too low. It burns and chars into bitter carbon before it can actually polymerize. |
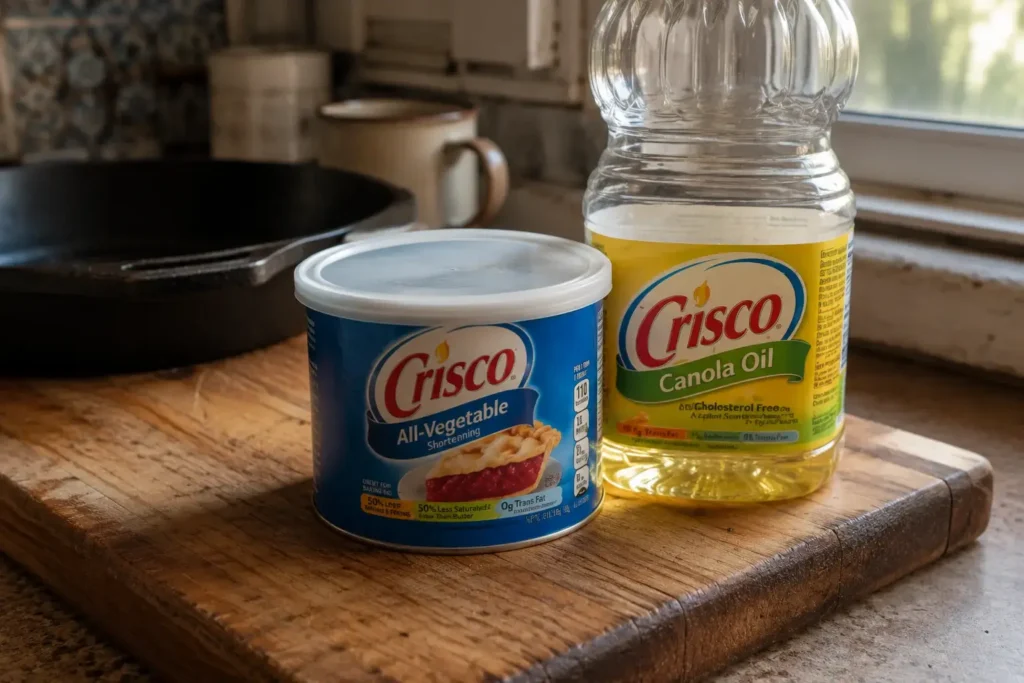
Based on the numbers, my top recommendation is simple Crisco All-Vegetable Shortening.
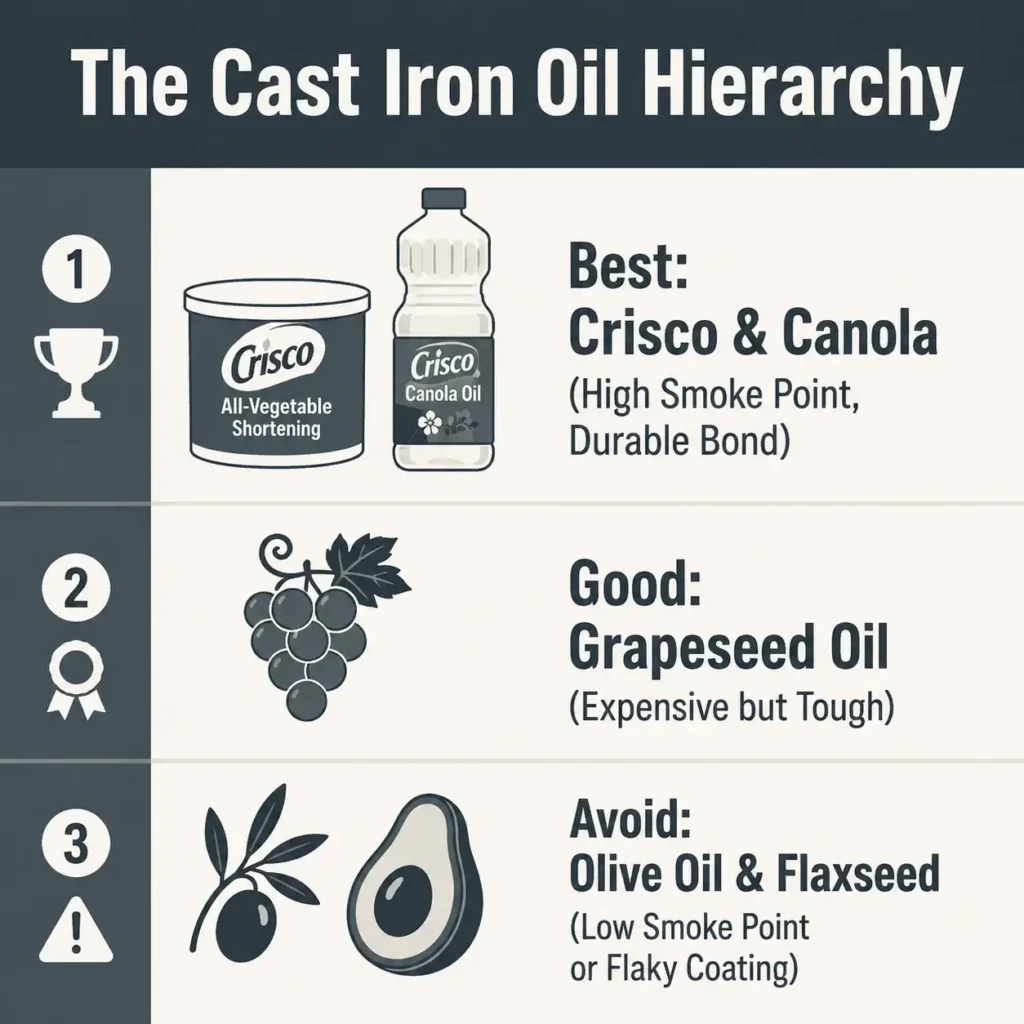
It is incredibly cheap, predictable, and doesn’t run or pool as easily as liquid oils during application. If you prefer a liquid oil for daily maintenance, a standard bottle of Crisco Pure Canola Oil works beautifully without breaking the bank.
Daily Maintenance: How to Keep the Seasoning Intact
Once your pan is seasoned, you do not need to treat it like glass. It is a solid chunk of American forged iron.
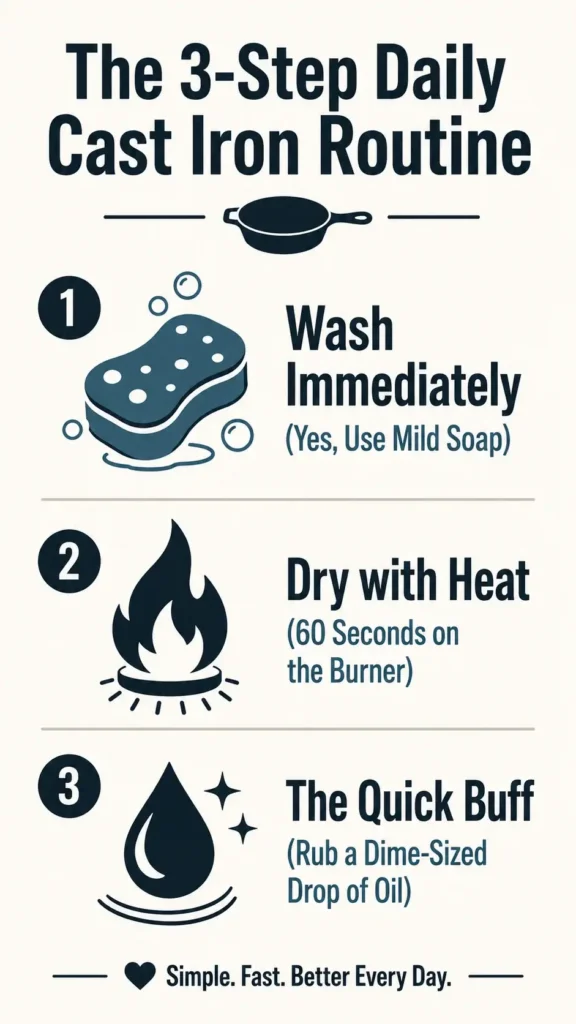
Here is my daily post-dinner routine for keeping the pan slick:
- Wash it immediately: Don’t let it sit in the sink overnight filled with water. Scrub it out with hot water and a gentle sponge. Yes, you can use a drop of Dawn dish soap. Modern dish soap does not contain lye; it will not strip a chemically bonded polymer layer. That old rule is completely outdated.
- Dry it with heat: Wipe it with a towel, then stick it back on the stove burner over medium-low heat for 60 seconds to pull out any residual moisture.
- The Quick Buff: Drop a tiny dime-sized drop of canola oil into the warm pan, buff it around the inside surface with a paper towel until it looks dry, and turn off the heat. Done.
[INTERNAL LINK: The best everyday cleaning routine → How to clean kitchen gear without ruining it]
Three Common Mistakes That Will Ruin Your Seasoning
When I read the one-star reviews on popular cast iron pans, 90% of the complaints aren’t actually about defective metal. They are about user errors during the seasoning phase. Watch out for these three specific failure modes:
1. Using Too Much Oil (The Sticky Pan Syndrome)
If your pan comes out of the oven feeling gummy, sticky, or looking like it has shiny brown spots that feel like tape residue, you left too much oil on the metal. The oil cooked, but it couldn’t fully polymerize because the layer was too thick to interact properly with the ambient oxygen.
- The Fix: Scrub the sticky spots down with hot water and a rough nylon sponge until the gumminess is gone, dry it completely, and run it back through the oven at 450°F without adding any new oil.
2. Cooking High-Acid Foods Too Early
Until your pan has a few months of heavy use under its belt, avoid simmering things like tomato sauce, vinegar glazes, or heavy lemon juices. The high acid content will literally dissolve the fresh, thin polymer layers right off the iron, leaving your food tasting distinctly metallic. Save the marinara sauce for your stainless steel pans.
[INTERNAL LINK: When to use stainless steel instead → Stainless steel vs non stick pans compared]
3. Fearing the Soap
If you never wash your pan with soap, old cooking fats, grease, and microscopic food particles will slowly bake onto the surface over time. This isn’t seasoning—it is just burnt, carbonized food debris. It will eventually flake off into your dinner and make your eggs stick. Wash your pan.
FAQ
Can I use steel wool on my seasoned skillet?
Only if you intend to strip the pan down and start over. Fine steel wool will cut right through the delicate polymer coating and expose the bare grey iron beneath. For daily cleaning of stuck-on bits, stick to a stiff plastic brush, a dedicated nylon pan scraper, or a chainmail scrubber.
Why is my seasoning flaking off in black specks?
Black specks usually mean you either used flaxseed oil (which is notorious for cracking and flaking off after a few months) or you have built up a layer of carbonized, burnt food residue because the pan wasn’t cleaned thoroughly between uses. Scrub the loose flakes away with a stiff brush, wipe a thin layer of canola oil inside, and bake it again to seal it.
Do expensive, smooth pans season better than cheap, rough ones?
High-end boutique pans (like a Field Company or a Smithey) come milled smooth right out of the factory, making them feel slicker immediately. A budget-friendly option like the standard Lodge 10.25-Inch Cast Iron Skillet has a rougher, sand-casted texture. However, the data shows that rougher textures actually give the oil polymer something physical to grip onto, meaning it holds its initial seasoning layers incredibly well. Over time, both styles become equally non-stick with regular use.
How often do I need to re-season the pan in the oven?
If you cook with oil or fat regularly—like frying chicken, searing steaks, or making regular batches of bacon—you may never need to put it in the oven again. The daily cooking process continually adds new layers of micro-seasoning naturally. You only need to do a full oven reset if the pan gets left in a wet sink, develops rust spots, or looks dry and patchy across the bottom.
For practical kitchen advice that skips the aesthetic fluff and looks at how tools actually work, you can check out the video below. It shows the exact physical appearance of a properly oiled pan before it goes into the oven, which is helpful if you want to make sure you didn’t leave too much liquid grease behind.
This video demonstrates the exact physical appearance of a properly oiled pan before it goes into the oven, helping you visualize just how thin that layer of oil needs to be to prevent gumminess.