Tested: How to measure ingredients correctly every time
I burned eggs in my first apartment. I ruined rice. I once managed to overcook canned soup, which I honestly didn’t think was possible.
My first kitchen had one skillet, one pot, and a cheap plastic spatula that I think came from a dollar store. I had zero formal cooking training. I grew up in a house where cooking was just something that happened. My mom, Linda, made it look completely effortless. She cooked pot roast on Sunday. She made biscuits on weekday mornings. She made a chili that simmered for hours in this old, beat-up dutch oven she had owned forever.
She never used recipes. She just threw a handful of this and a pinch of that into the pot. The food always tasted amazing.
But I have a B.S. in Accounting. My brain does not work in “pinches” and “handfuls.” I build comparison spreadsheets before I buy a $40 pan. I need numbers. I need rules. I need to know exactly what is going into my bowl.
When I first started trying to bake, my cookies were always hard as rocks. My cakes were dry. I thought I was just a bad cook. It turns out, my recipes were failing before I even turned on the oven. I didn’t know how to measure ingredients correctly every time.
If you want to stop eating dry cakes and dense bread, you have to fix your prep work. You have to remove the guesswork. Here is exactly what I learned about measuring food, mostly the hard way.
The Problem With Cups and Spoons
In the United States, we measure food by volume. We use cups, tablespoons, and teaspoons. This is a terrible system.
Volume tells you how much space something takes up. It does not tell you how much stuff is actually in that space. Think about a cup of popcorn versus a cup of sand. They take up the exact same amount of room in the cup. But one is way heavier than the other.
Food works the exact same way. A cup of flour can weigh wildly different amounts depending on how you put it into the cup. If you scoop it hard, you pack it down. You get more flour. If you sift it, it is full of air. You get less flour.
This is why your baking fails. Baking is just chemistry. It is a strict math equation. If the math is wrong, the cake is wrong. When you look at the messy history of how different countries adopted the metric system for weights and measures, it makes total sense why American recipes are stuck in the dark ages of volume measurements. It is confusing and it causes bad food.
The Great Flour Experiment
Let’s talk about flour. Flour is the biggest liar in your kitchen.
A few years ago, I decided to test this. I took a standard 1-cup measuring cup. I took a bag of all-purpose flour. And I took my digital kitchen scale.
First, I scooped the flour straight out of the bag. I pushed the cup against the side of the bag to pack the flour in. I leveled it off with my finger. I put it on the scale. It weighed 150 grams.
Next, I took a normal spoon. I lightly scooped flour from the bag into the cup until it was full. I leveled it off with the back of a butter knife. I put it on the scale. It weighed 120 grams.
That is a 30-gram difference. That means I had 25% more flour in the first cup just because of how I filled it.
Now, imagine a recipe that asks for 3 cups of flour. If you scoop hard, you are adding almost an entire extra cup of flour to the mixing bowl. No wonder your cookies are dry and crumbly.
The Kitchen Scale (Why It Wins)
The only real way to figure out how to measure ingredients correctly every time is to buy a digital kitchen scale.
I know what you are thinking. You do not want another gadget on your counter. My sister Paige runs the aesthetic side of our site. She loves clean counters. She hates clutter. But even she keeps a kitchen scale in her drawer because it actually works.
When you weigh your food, a cup of flour is always exactly 120 grams. It does not matter if it is packed hard or totally fluffy. 120 grams is always 120 grams.
I spent three weeks comparing models before I bought my scale. I always read the one-star Amazon reviews first. I notice when a product’s high rating is made up of five-star reviews from the week it launched and nothing since. Most cheap scales fail for three reasons. First, the screen is too small to read when a big bowl is sitting on top of it. Second, they turn off too fast while you are still pouring. Third, they just break after two months.
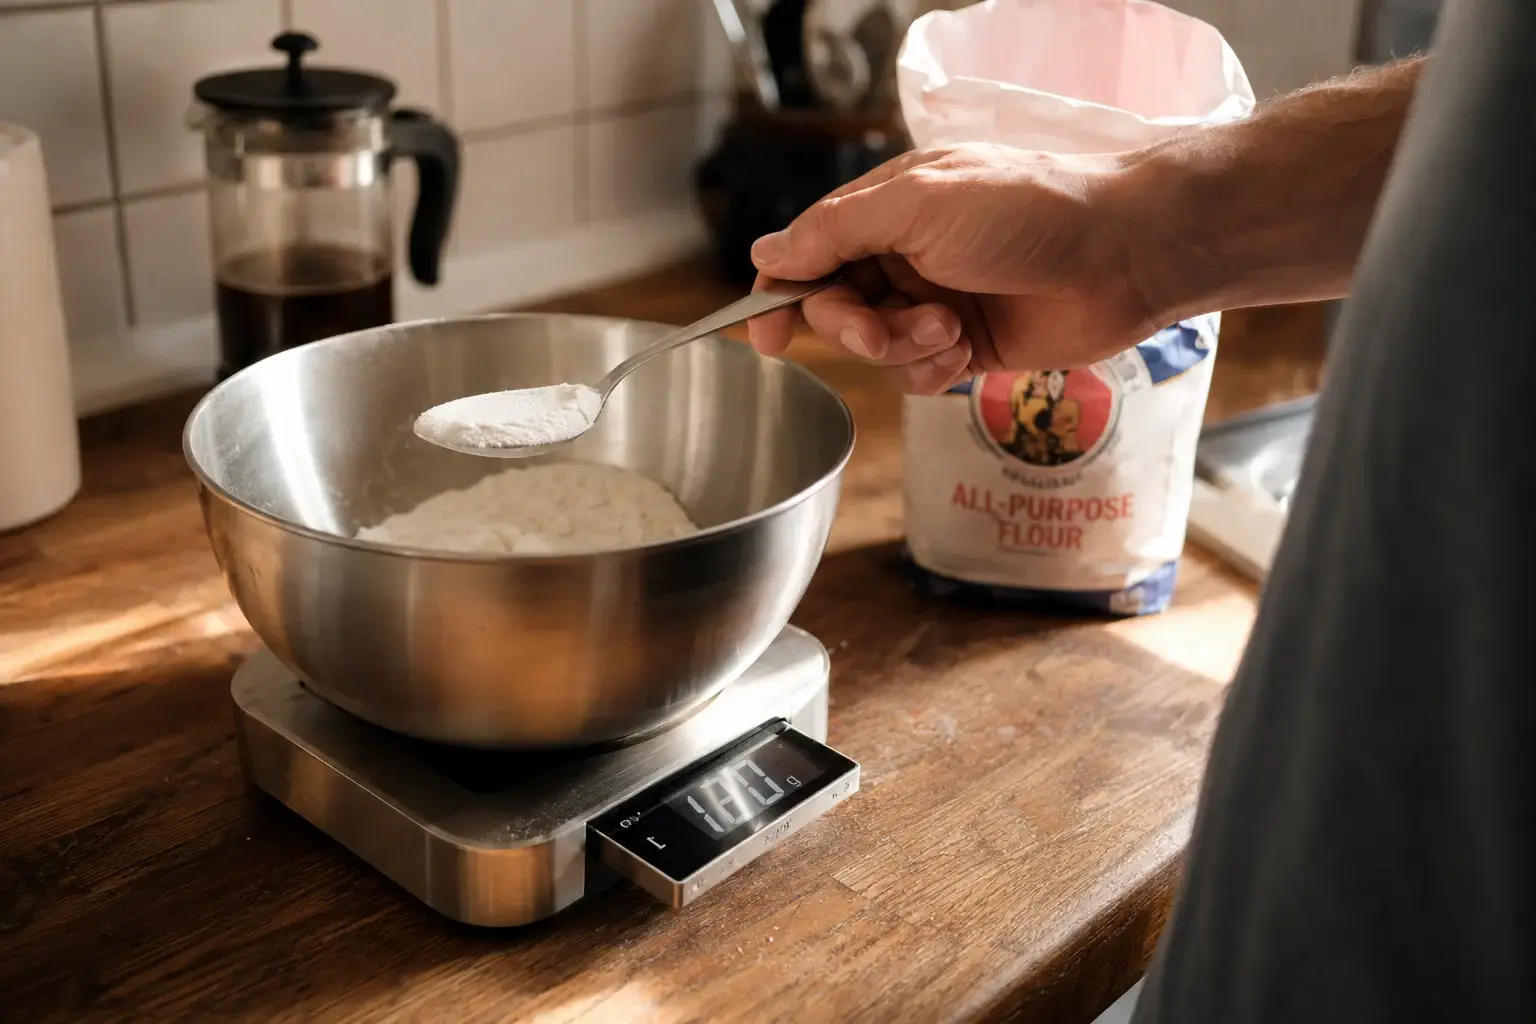
I ended up buying the OXO Good Grips 11-lb Food Scale. It is not the cheapest one you can find. But the display actually pulls out from the base on a little cord. When I have my big stainless steel mixing bowl on it, I can pull the screen out and still read the numbers.
Also, before I buy any kitchen electronics, I always read the official scale manual and care instructions to see if the auto-shutoff feature will ruin my workflow. The OXO stays on long enough for me to find the sugar in my pantry without resetting to zero.
If you buy a scale, always use the metric system. Grams are small units. Ounces are clumsy and big. It is much easier to measure 4 grams of salt than 0.14 ounces.
How to Measure Dry Ingredients Without a Scale
Okay, maybe you refuse to buy a scale. That is fine. You can still learn how to measure ingredients correctly every time using the metal or plastic cups you already own.
You just have to learn the “spoon and level” method.
Never dip your measuring cup directly into the bag of flour or cocoa powder. That packs the powder down. Instead, take a normal spoon. Fluff up the ingredient in the bag first. Then, lightly spoon the powder into your measuring cup. Let it pile up slightly over the top.
Do not shake or tap the cup to level it. Shaking packs it down. Take the flat edge of a butter knife and scrape the excess off the top so it is perfectly flat.
Brown sugar is the only exception to this rule. Brown sugar has molasses in it, which makes it wet. Almost every recipe assumes you are going to pack brown sugar into the cup. So, when a recipe says “1 cup brown sugar, packed,” you actually want to press it down hard with your fingers until the cup is completely full and tight.
I trust independent labs that explain their testing methodologies for kitchen gear much more than random Amazon reviews when deciding which dry cups are actually accurate. Usually, plain stainless steel cups are the best because they do not bend when you scoop.
How to Measure Wet Ingredients
Wet ingredients and dry ingredients need totally different tools.
You cannot use those little metal scoop cups for water or milk. They are made to be filled to the very top rim and leveled off. If you fill one to the brim with milk, you will spill it on your way to the bowl.
You need a liquid measuring cup. These are the glass or clear plastic jugs with a handle and a little pour spout. The measurement lines are printed on the side. I have a standard 2-cup Pyrex glass measuring cup. Paige wanted me to get a fancy aesthetic one, but I like the Pyrex glass because the numbers don’t wear off in the dishwasher.
But here is the trick to using them. You cannot read the numbers while looking down from above. If you look down, the liquid looks higher than it actually is.
You have to set the cup on a flat counter. Pour in your liquid. Then, bend down so your eyes are exactly level with the painted line on the cup.
Water and milk curve slightly at the edges where they touch the glass. This curve is called a meniscus. You want the very bottom of that curve to sit perfectly on the measurement line. Being off by two tablespoons of milk can make your pancake batter way too thin.
Sticky Ingredients (Honey, Peanut Butter, and Syrup)
Sticky stuff is the worst thing to measure.
If you need half a cup of honey, you pour it into the cup. But when you try to dump it into your mixing bowl, half the honey stays stuck to the inside of the cup. Now your recipe is missing a quarter cup of honey, and you have a massive, sticky mess to clean up in the sink.
There is a very easy trick for this.
Before you measure anything sticky, spray the inside of your measuring cup with a tiny bit of non-stick cooking spray. Or, rub a single drop of vegetable oil inside it with your finger.
The honey or peanut butter will slide right out in one big piece.
I usually prefer glass or high-quality plastics for this trick so the oil washes out easily. It is smart to check the FDA’s guidance on food-safe materials if you are buying cheap plastic cups that might degrade or hold onto oils in the dishwasher over time.
Teaspoons and Tablespoons: The Small Stuff
When a recipe calls for baking soda, baking powder, or yeast, the amounts are very small. Usually, it is just a teaspoon or two.
But these ingredients are highly powerful. If you add a little bit too much baking soda, your food will taste like metal. If you don’t add enough yeast, your bread will be a brick.
You need actual measuring spoons. Do not use the spoons you eat cereal with. Cereal spoons are all completely different sizes. A real measuring tablespoon is exactly 15 milliliters. Your cereal spoon might be 10 or 20.
When you measure these powders, dip the measuring spoon in, and use a butter knife to level it off perfectly flat.
If you are trying to teach basic math skills while baking with kids, letting them handle the fractions of measuring ingredients is a great practical lesson. It keeps them busy and shows them why exact numbers matter.
The Butter Problem
Butter is weird in America. We measure it by the “stick.” A standard stick is half a cup, or 8 tablespoons. The paper wrapper has little lines printed on it to show you where to cut.
This is actually pretty convenient. But it only works if you cut it perfectly straight down. If your knife goes in at an angle, you are robbing one side of the butter and giving too much to the other side.
If a recipe calls for melted butter, do not melt it first and then try to measure it in a liquid cup. Measure the solid stick, cut it on the line, and then melt that exact amount in a pan.
Does This Matter for Cooking Dinner?
We have talked a lot about baking. Baking is strict.
Cooking dinner is a lot more relaxed. If you are making soup, and you add an extra cup of chicken broth, the soup is just a little thinner. It doesn’t ruin the meal.
I am currently trying to learn how to make my mom’s chili recipe. I keep calling her every five minutes. I ask her how long “a while” is. She says “until it looks right.” That makes my accounting brain hurt.
She tells me to add a handful of cumin. I had to measure it out to see what her handful actually is. It turns out, her handful is about two tablespoons.
For dinner recipes, you do not always need to know how to measure ingredients correctly every time down to the exact gram. You can taste as you go. You can add more salt. You can add more spices.
But for the core parts of the meal—like cooking rice or making a sauce—the ratios still matter. If you use the wrong amount of water for your rice, it will either burn to the bottom or turn into mush. If you are cooking meat, guessing the temperature is dangerous, which is why I keep a digital meat thermometer right next to my scale and check the USDA’s safe minimum internal temperature chart for every single chicken breast I cook.
So, use the scale for baking. Use the measuring cups for rice and grains. Use your heart for the garlic and spices.
Why European Recipes Are Easier
In Europe, almost every recipe is written in grams. They do not use cups at all.
If you want to make a cake, you put your mixing bowl on the scale. You pour in flour until the screen says 200 grams. You hit the zero button. You pour in sugar until the screen says 100 grams.
It is incredibly fast. You do not get five different measuring cups dirty. You just use one bowl. My accounting brain loves this efficiency. When I finally figured this out, I stopped looking for American recipes online. I started looking for UK recipes just so I could use my kitchen scale for everything.
Common Myths About Measuring
There is a lot of bad advice out there. I read the forums. I see the Pinterest boards my sister sends me. Let’s clear up a few things so you don’t waste your money.
Myth: “A pinch” is a real measurement. It is not. My pinch is different from your pinch. When a recipe says a pinch of salt, they just mean a very tiny amount. Don’t stress about it. Just use your thumb and pointer finger to grab some salt and drop it in.
Myth: You need a massive 15-piece set of measuring cups. You do not. My apartment kitchen is small. I don’t have room for junk. You only need a 1 cup, 1/2 cup, 1/3 cup, and 1/4 cup. You can do the math for everything else. If you need 3/4 of a cup, just use the 1/4 cup three times. It is basic addition. Buy a simple, 4-piece metal set and stop there.
Myth: Liquid and dry measuring cups are the exact same. This is technically true, but practically false. A one-cup dry measure holds the same amount of space as a one-cup liquid measure. But you cannot use them interchangeably without making a huge mess or getting the amounts wrong due to how you level them. Use the right tool for the job.
FAQ
Let’s answer some common questions I see all the time from people trying to get their kitchen setup right.
1. Does measuring correctly really matter for cooking dinner, or just baking?
It depends on what you are cooking. For things like rice, quinoa, or making a pan sauce, the ratio of liquid to solid is incredibly important. If you mess up the water for rice, it is ruined. But if you are making a stew, a stir-fry, or roasting vegetables, measurements are just suggestions. Baking is math. Cooking is art. But you still need to know the math before you can paint.
2. Can I use a coffee scoop to measure tablespoons?
I would strongly not recommend it. Coffee scoops are notoriously inaccurate. Some hold one tablespoon, some hold two, and some are a weird metric size in between. Unless you have taken a real measuring spoon and tested it against your coffee scoop, do not use it for baking. You will ruin your cookies.
3. Why does my recipe list ingredients by weight but liquids by volume?
This is very common in modern recipes. Dry ingredients like flour and sugar can compress, so their weight changes based on how you scoop them. Liquids do not compress. A cup of water is always a cup of water, no matter how hard you push on it. So, writers will give you the exact weight for the dry stuff, but let you use a standard glass jug for the water or milk because it is just easier.
4. What happens if I use a liquid measuring cup for flour?
You will almost certainly get way too much flour in your bowl. Because you have to shake or tap the glass jug on the counter to get the flour to sit flat on the line, you are packing the flour down. Packed flour is heavy flour. Your baked goods will turn out dense, dry, and crumbly. Always use a dry measuring cup with a flat top so you can scrape the excess off.
5. How do I measure a “heaping” cup if the recipe asks for it?
A heaping cup just means you do not level it off with a knife. You scoop the ingredient and let it form a natural little mountain over the rim of the cup. This is usually only used for things that don’t need to be exact, like chocolate chips, chopped nuts, or fresh blueberries.
6. Are cheap plastic measuring cups accurate?
Usually, yes. The factory molds for even the cheapest dollar-store measuring cups are generally accurate enough for home baking. The real problem with cheap plastic is that the handles snap off when you dig into a hard bag of brown sugar, or the printed numbers rub off in the dishwasher. Spending $10 on a sturdy stainless steel set is usually worth it just so they last longer.